Building of 3D Reference Plates
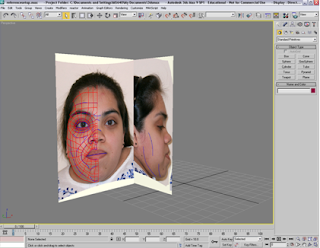
Once I had set up everything in Photoshop, I had to transfer the images to 3D studio max.Before transferring the images, I had set up the reference planes. The planes were going to hold the front view image. This step wasn’t difficult, I was given certain measurements and guidelines to use such as making sure the plane had 1 segment and positioning the plane towards the back. Once the plane was set, the images could be transferred.
The images were basically a material, so I had to use the material editor. I had to make sure that the ‘Illumination color’ was set to 100; this allowed me to view the images in different angles without it going dark. When I put the image on, it viewed properly but all the guidelines were broken, this was easy to fix by configuring the driver to show the actual image.
Once the material was on, I had to modify it using the ‘UVW map’ modifier, within this I selected ‘Gizmo’ this gave me some options to make sure the image fit properly in the plane, and that I could only see the front view, as the image contained both front and profile view.
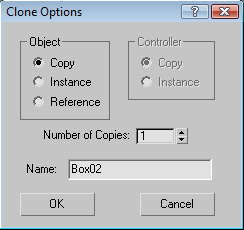
I had to repeat the same step, to create and view the same image. To make it easier, all I had to do was copy the same pane/image. This was done by rotating the plane/image, holding ‘Shift’ on the keyboard at the same time and use one of the axis to rotate the plane/image 90 degrees.

I had to modify this image to make it face the right way, I used the ‘UVW map’ modifier’, selected Gizmo and used the flip option. I also had to make some adjustments to which image was displayed, so again using the same modifier I drag the image across to view the profile. I had to change the plane measurements to make the whole image fit.

During the whole modelling process I found it was a good idea to freeze the images, this was because I had lined them up, and I didn’t want to accidently move them out of line.
No comments:
Post a Comment